
值日生排程通知 Line Notify x Google Excel & App Scripts x Google Cloud Run & Scheduler
Tech ·故事由來
工程師是懶惰的 ヾ(⌒(´・ㅅ・`)
小弟弟很榮幸被選派為班代,班代每天要做的事就是在白板上寫上當日值日生。
但由於每天都要打開excel確定明日值日生是誰很麻煩,所以乾脆寫一個每日排程,自動通知。
利用Line Notify + Google Excel&App Scripts + Google Cloud Run & Scheduler 實作出功能
實作步驟
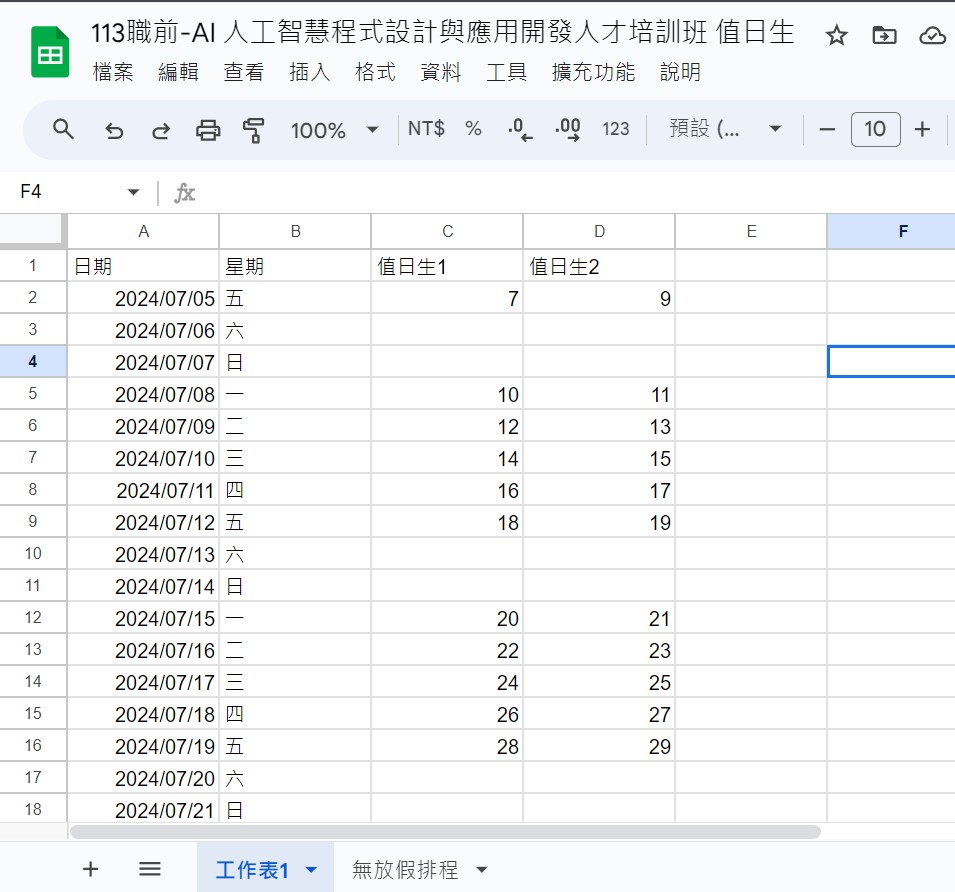
1.在google excel上建立排程表
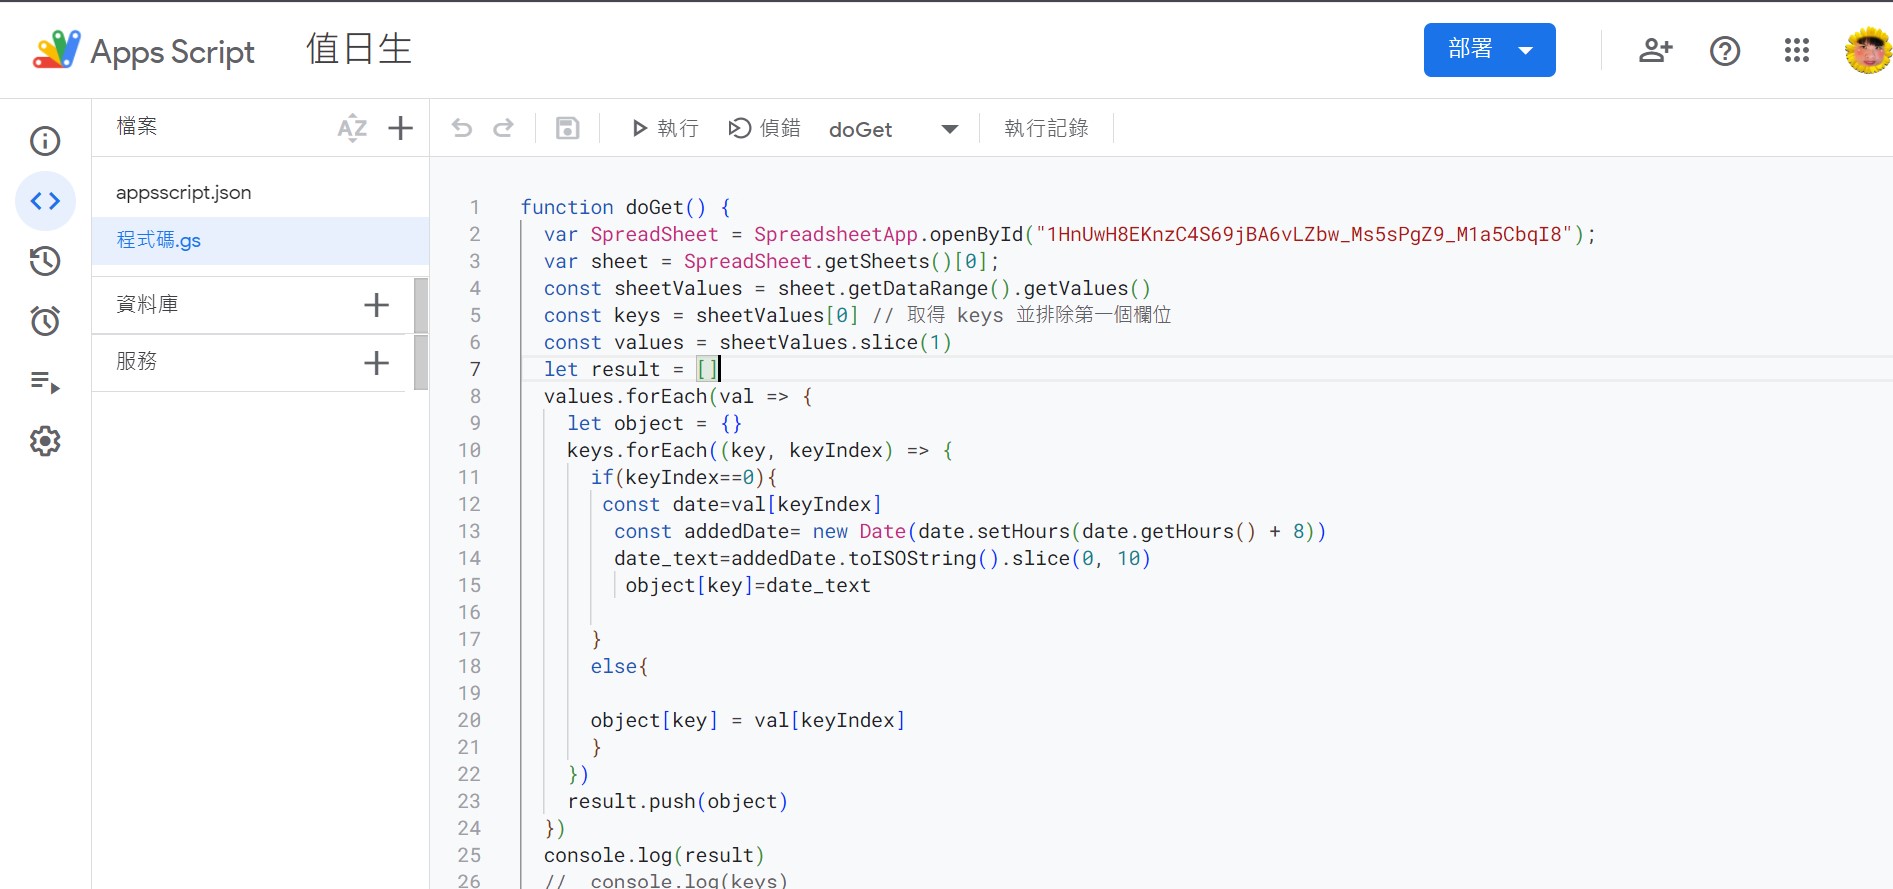
2.接下來打開app scripts,開始寫js程式碼
function doGet() {
  // id 是excel的上的試算表id
  // 比如 https://docs.google.com/spreadsheets/d/1HnUwH8EKnzC4S69jBA6vLZbw_Ms5sPgZ9_M1a5CbqI8/edit?gid=0#gid=0
  // id 就為 1HnUwH8EKnzC4S69jBA6vLZbw_Ms5sPgZ9_M1a5CbqI8
  var SpreadSheet = SpreadsheetApp.openById("1HnUwH8EKnzC4S69jBA6vLZbw_Ms5sPgZ9_M1a5CbqI8");
  // 取得第0個 sheet
  var sheet = SpreadSheet.getSheets()[0];
  const sheetValues = sheet.getDataRange().getValues()
  // 取得 keys 並排除第一個欄位 (日期、星期、值日生1、值日生2)
  const keys = sheetValues[0]
  const values = sheetValues.slice(1)
  let result = []
  values.forEach(val => {
    let object = {}
    keys.forEach((key, keyIndex) => {
      if(keyIndex==0){
       const date=val[keyIndex]
        // 轉日期格式
        const addedDate= new Date(date.setHours(date.getHours() + 8))
        date_text=addedDate.toISOString().slice(0, 10)
         object[key]=date_text

      }
      else{

      object[key] = val[keyIndex]
      }
    })
    result.push(object)
  })
  console.log(result)
  //  console.log(keys)
  // console.log(values)
  return ContentService.createTextOutput(JSON.stringify(result))
    .setMimeType(ContentService.MimeType.JSON);
}
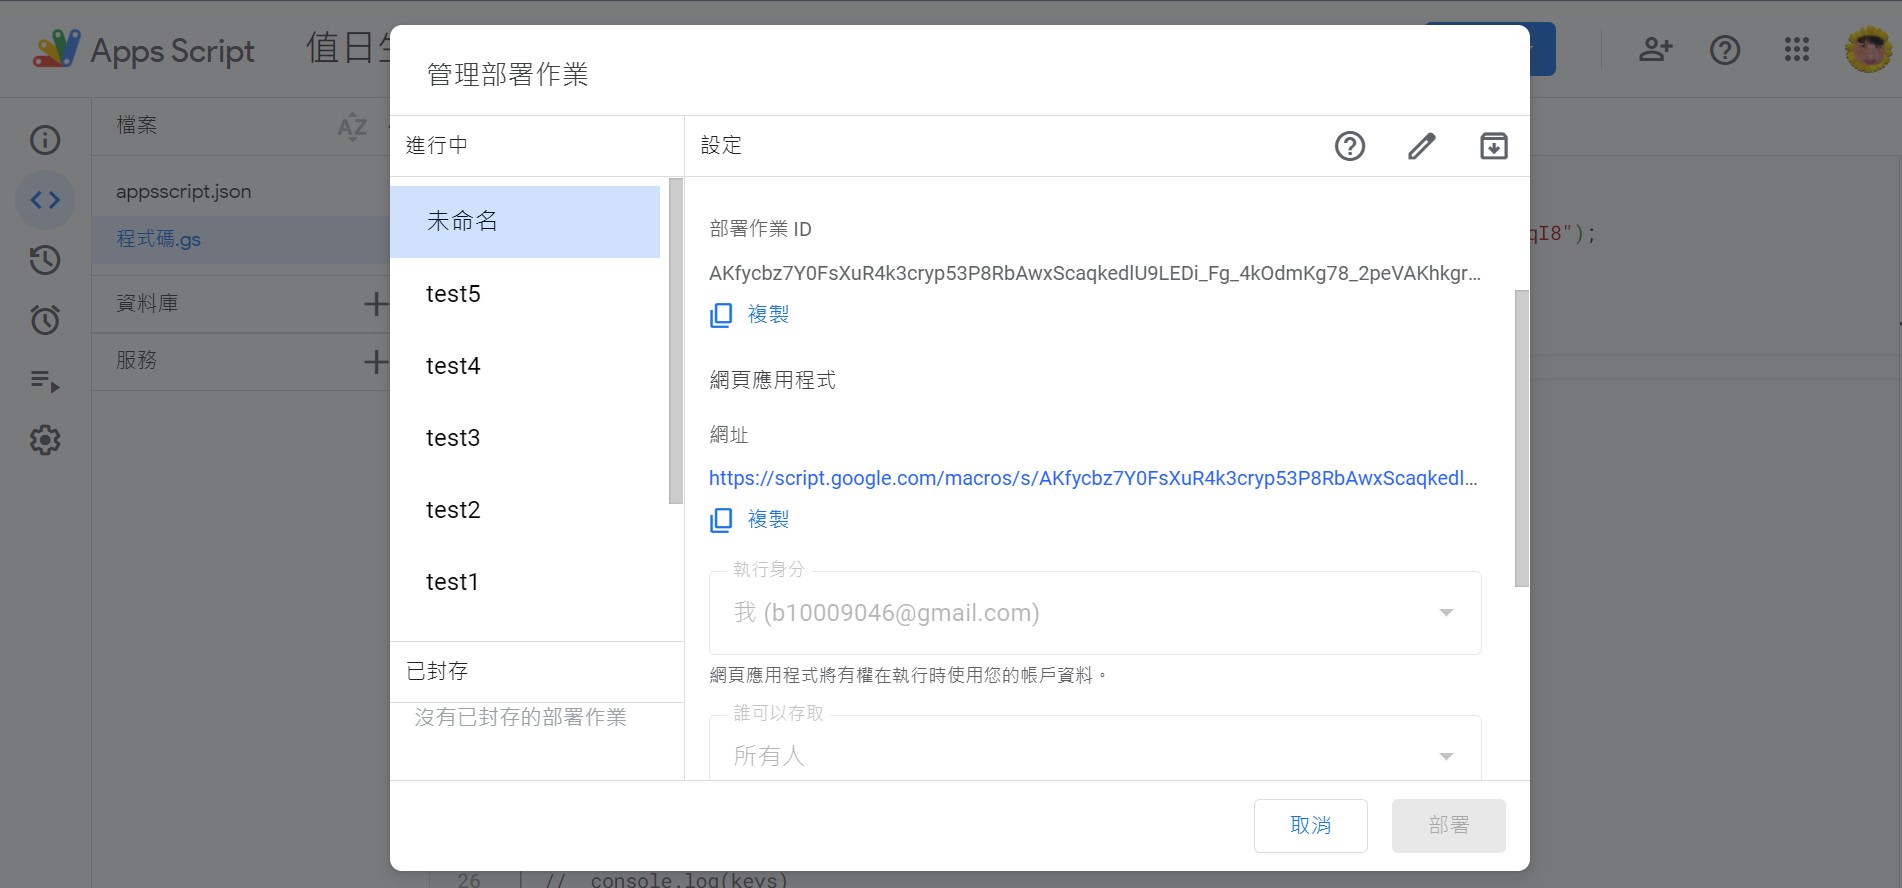
3.寫好app scripts之後部屬
部屬成功後會獲得一個網址 例如:Get Data Url
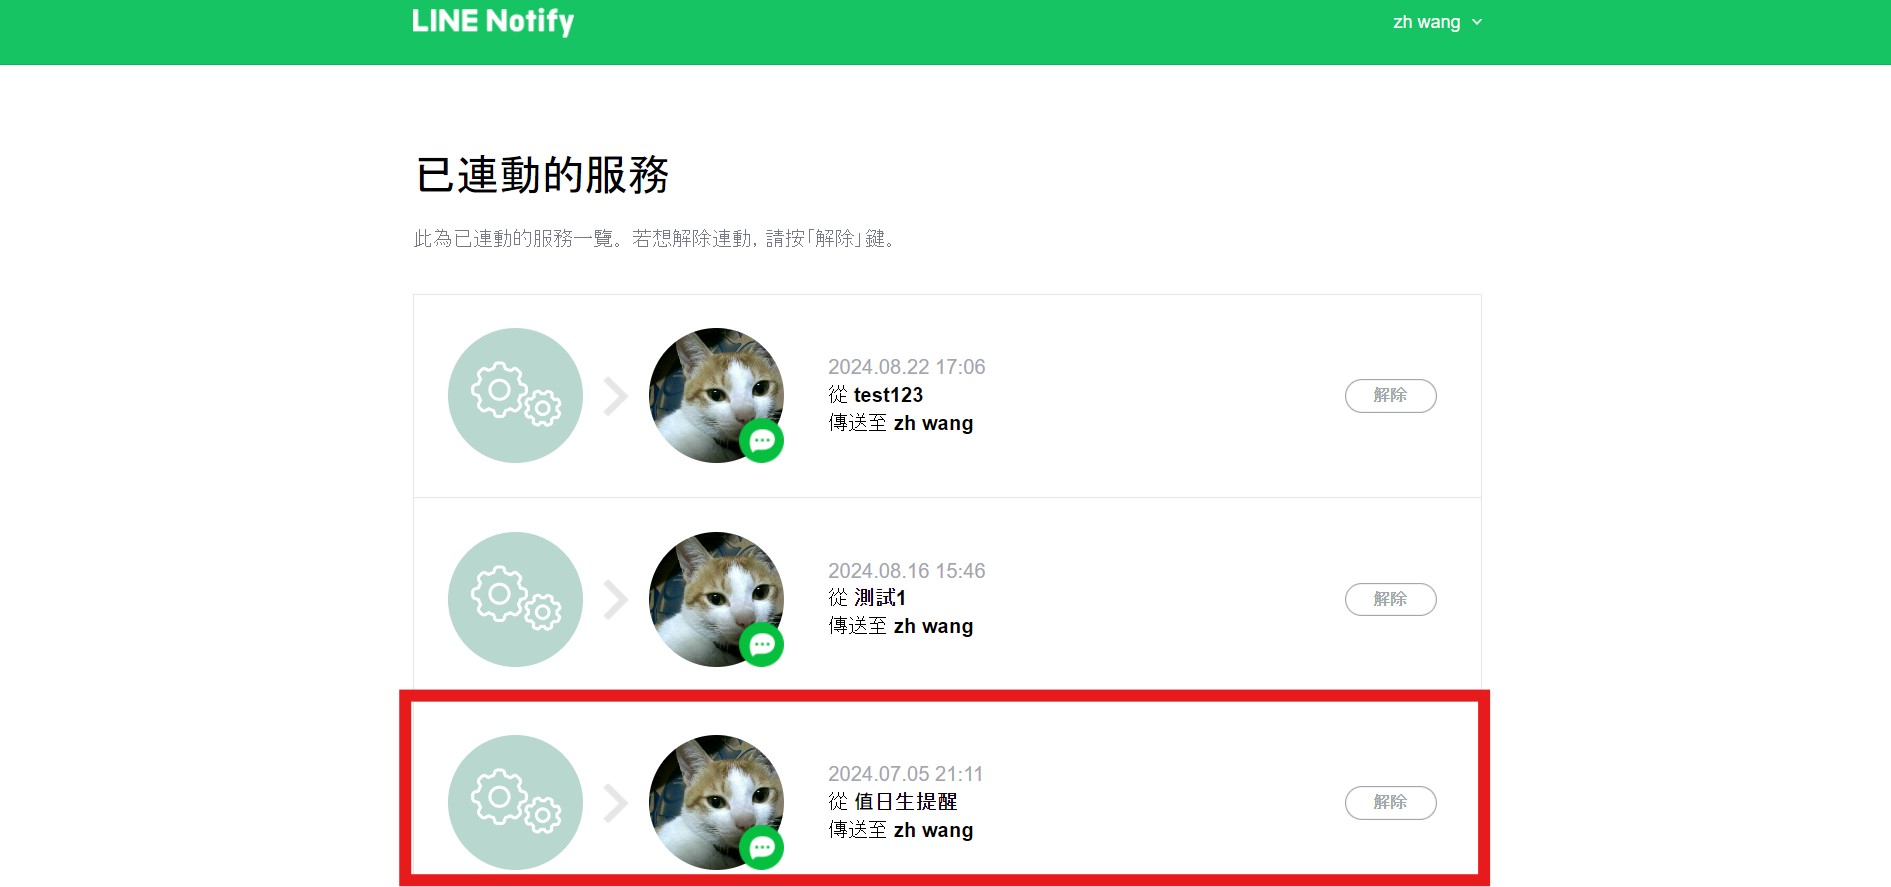
4.準備line notfiy
申請成功之後會獲得一組token,請勿洩漏個人token,不然有人半夜會通知你起床尿尿
5.寫一個簡單的flask app
@app.route('/notify')
def dutyStudentsNotify():
    job1()
    return 'ok'

def job1():
    response = requests.get(url)
    # 檢查請求是否成功
    if response.status_code == 200:
       # 獲取 JSON 數據
       data = response.json()
       # 過濾後的數據
    #    filtered_data = filter_weekend(data)
       filtered_data = data
       now = datetime.now()
       formatted_date = now.strftime("%Y-%m-%d")
       result = next((data for data in filtered_data if data['日期'] == formatted_date), None)
       text =f"{result['日期']}值日生為{result['值日生1']},{result['值日生2']}"
       # 打印 JSON 數據
       # print(text)
       line_notify(text)
    else:
      print(f"請求失敗,狀態碼:{response.status_code}")

def line_notify(msg):
    token = 'xxx'  # 填入你的token
    url = 'https://notify-api.line.me/api/notify'
    headers = {
        'Authorization': 'Bearer ' + token
    }
    data = {
        'message': msg
    }
    requests.post(url, headers=headers, data=data)
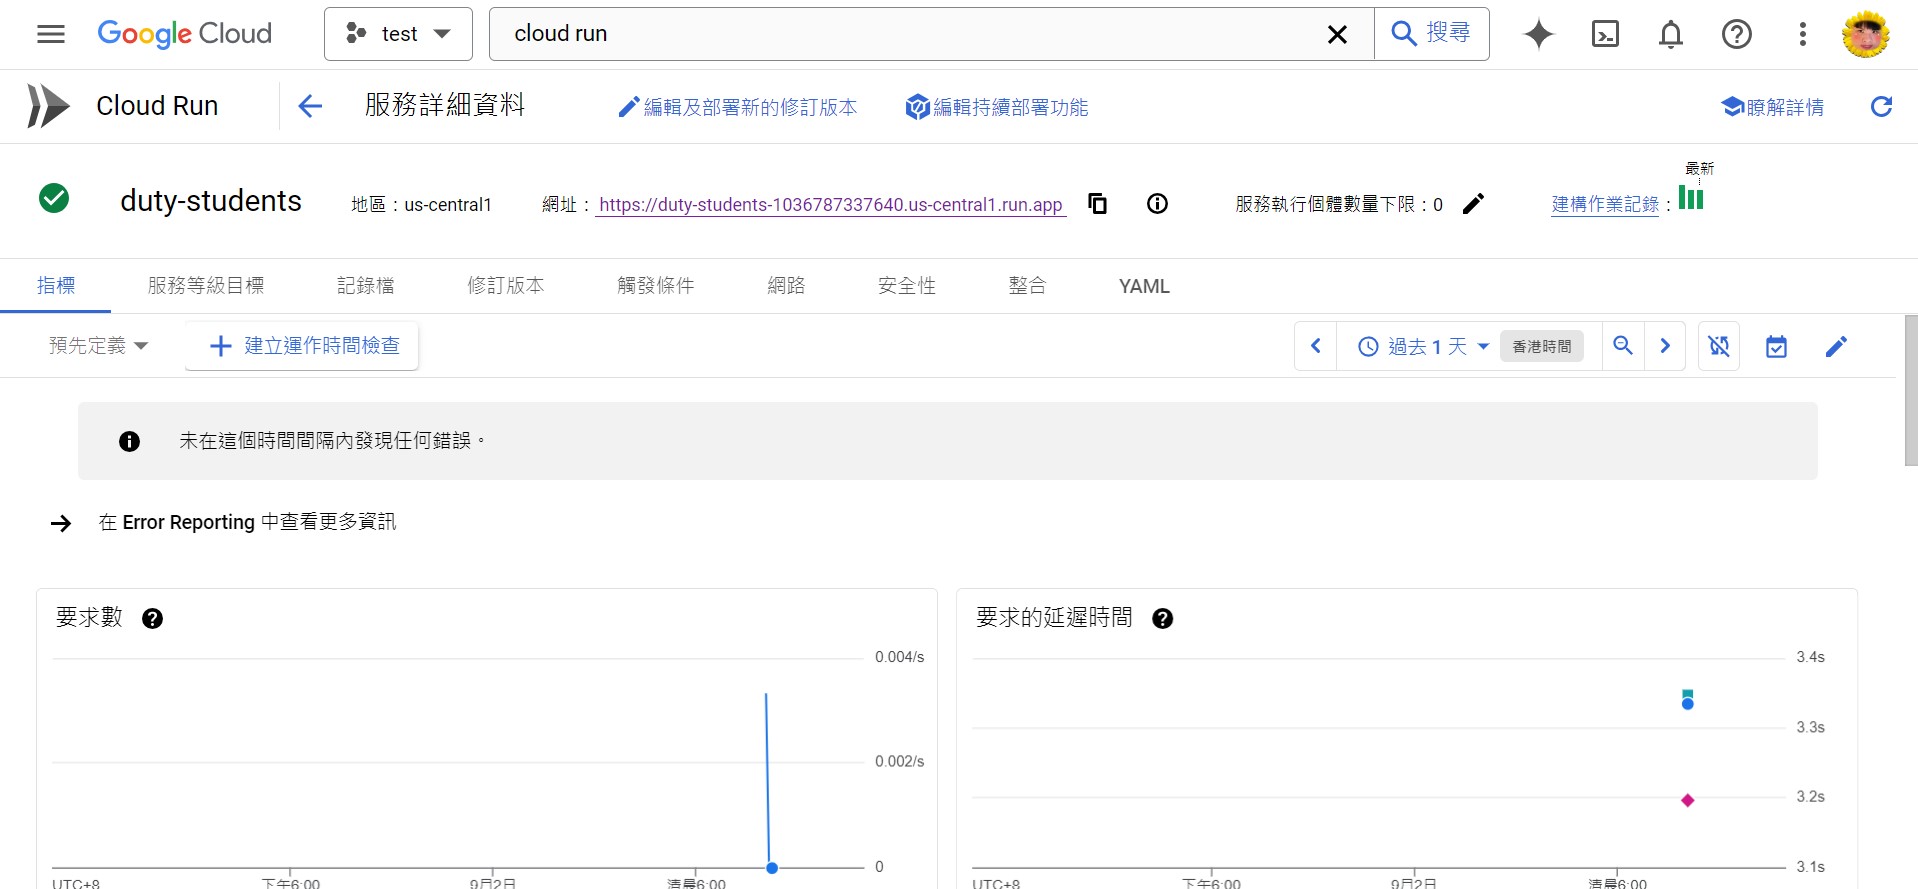
6.丟到Google Cloud Run部屬flask app
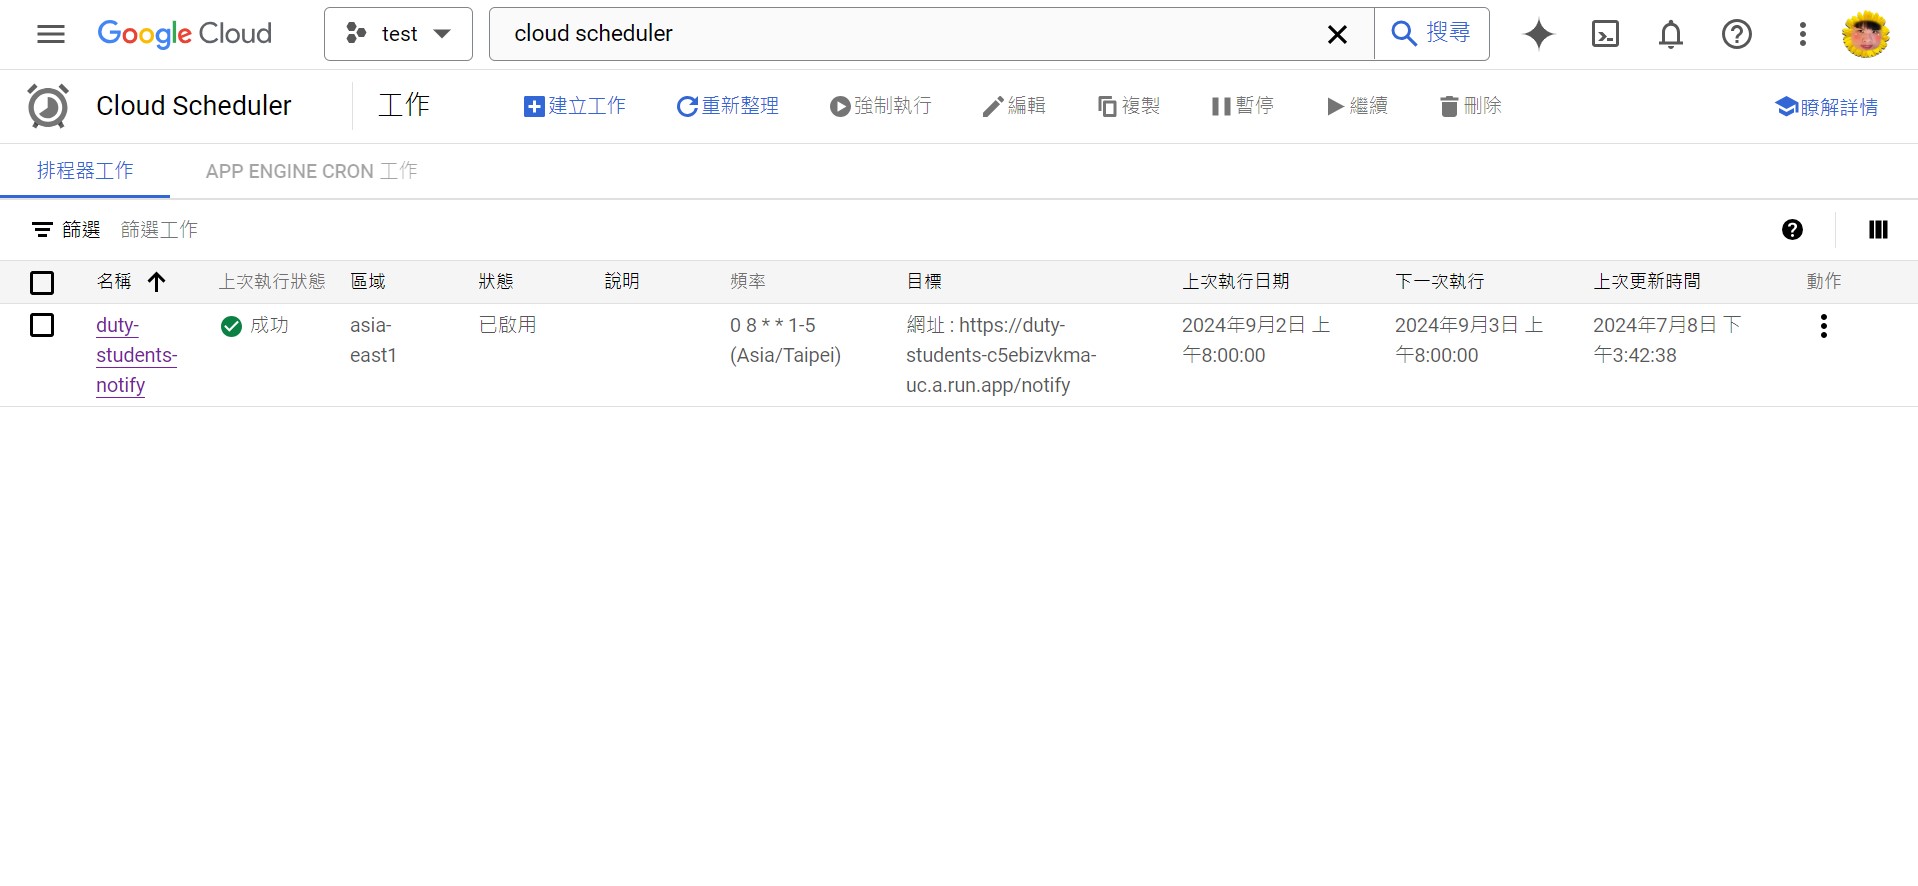
7.Google Cloud Scheduler設定排程
星期1~5 每天早上八點call flask app
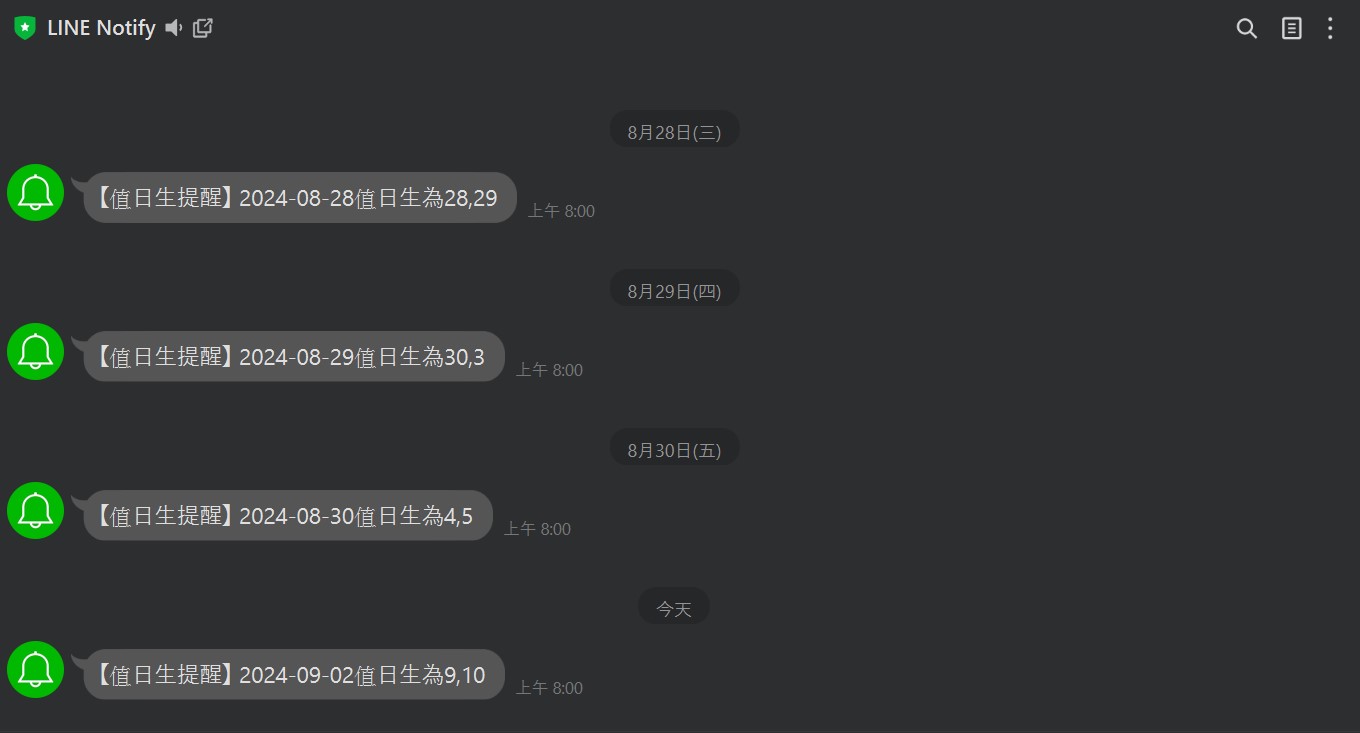
8.完成結果
結論
其實寫程式還是很麻煩,甚至App Scripts都可以自己設觸發條件 不用透過Cloud Scheduler 然後還是要每天都要打開line查看,有點脫褲子放屁ˊuˋ